
how to solder wires together properly starts with one unglamorous truth: most “bad solder joints” are really bad prep, not bad solder.
If you’ve dealt with a connection that works when you wiggle it, a joint that snaps the first time you tug the cable, or a splice that looks shiny but still reads high resistance on a meter, you’re in the right place.
This guide focuses on reliable wire-to-wire splices for typical DIY electronics and low-voltage projects, what to do differently for thick wire and heat-sensitive parts, plus a few quick tests so you know the joint is actually good.

What “properly soldered wires” really means
A solid splice is less about how much solder you add and more about whether the metals actually bond. In practice, a proper joint usually has four traits.
- Clean, well-wetted surfaces: solder flows onto copper like paint on a primed wall, not like beads on wax.
- Mechanical stability before solder: the wires hold together without you “using solder as glue.”
- Enough heat, for the right time: the wire and joint area get hot, not just the solder wire.
- Strain relief and insulation: heat shrink, proper routing, or a clamp so vibration doesn’t fatigue the joint.
According to IPC (Association Connecting Electronics Industries), acceptable solder joints should show proper wetting and avoid defects like cold joints and disturbed joints. You don’t need IPC certification for DIY work, but the same principles keep your projects from failing later.
Tools and materials that make the job easier (and safer)
You can solder with a bare-minimum setup, but a few basics reduce frustration fast, especially if you’re learning how to solder wires together properly.
Recommended basics
- Temperature-controlled soldering iron (often 40–70W): stable heat matters more than raw wattage.
- Rosin-core solder for electronics (commonly 60/40 or lead-free): choose what your project requires.
- Flux (pen or paste): helps solder flow and prevents oxidation while heating.
- Wire strippers and flush cutters: clean copper beats torn strands.
- Heat shrink tubing in a few sizes: insulation plus strain relief.
- Helping hands or small clamps: reduces movement while solder cools.
- Fume extraction or at least a fan pulling fumes away: breathing rosin smoke is not a hobby benefit.
Quick settings guidance
Exact temperatures depend on iron, tip, solder alloy, and wire size, so treat this as a starting point. Many people land around 650–750°F for typical electronics work, adjusting up for heavier wire and down for delicate pads, but if you’re unsure, your iron manufacturer guidance is the safest reference.
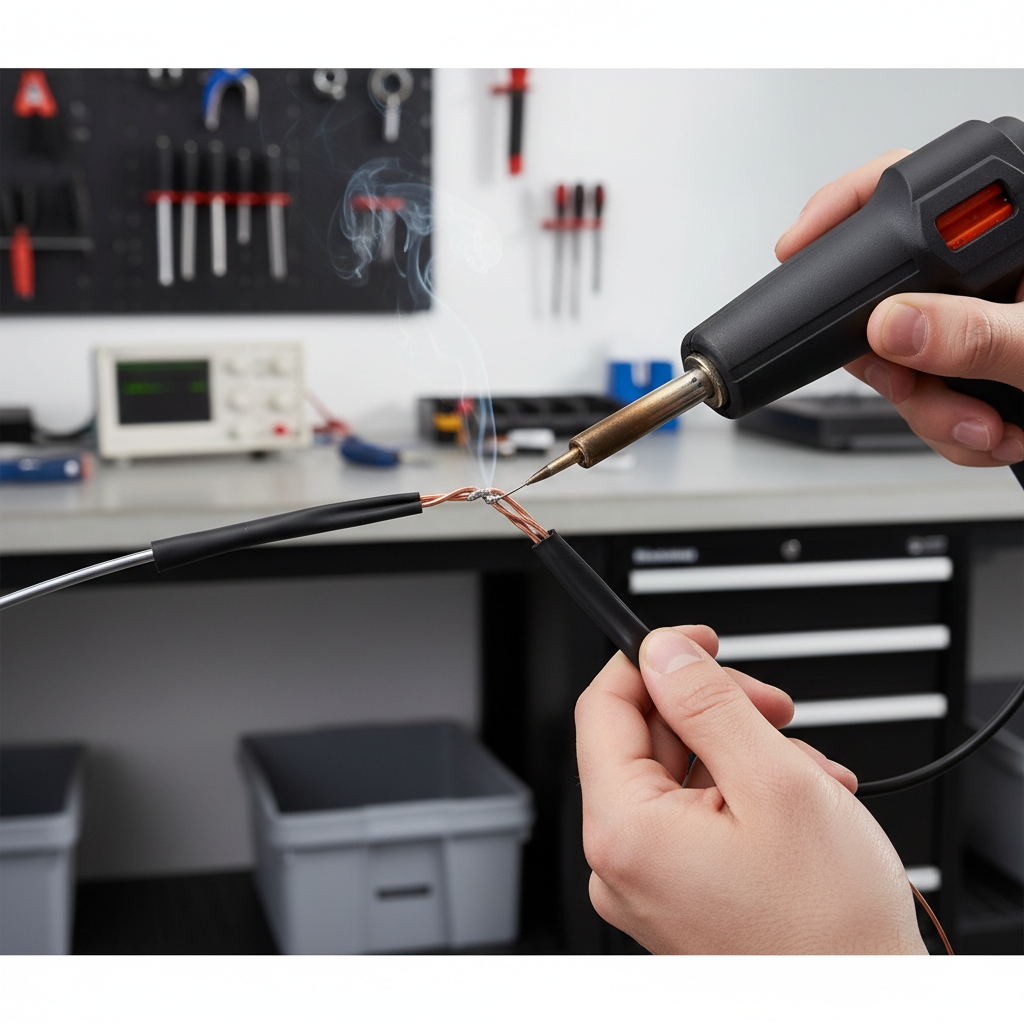
Step-by-step: how to solder wires together properly
Here’s a workflow that holds up in real projects, not just on a clean bench for a photo.
1) Choose the right splice style
- Western Union splice (inline, strong): good for repairs where pull strength matters.
- Twist splice (quick, moderate strength): fine inside an enclosure with strain relief.
- Pigtail splice (multiple wires): common in harness work, but manage bulk carefully.
If the wire is going to get tugged, prioritize a mechanically strong splice, then solder. If it sits still inside a case, a simpler join may be fine.
2) Prep: strip, clean, and fit heat shrink first
- Strip just enough insulation to overlap, usually 1/4–1/2 inch depending on gauge.
- If copper looks dull or dark, lightly scrape or re-strip to bright metal.
- Slide heat shrink onto one side now (almost everyone forgets once).
3) Pre-tin the tip and (often) the wire
Clean the tip, then add a small amount of solder so it looks shiny. That thin solder layer improves heat transfer.
For stranded wire splices, lightly tinning the exposed strands often helps keep them together and speeds the final join. For some connectors and crimp-style terminals, you may skip tinning because it can change fit, but for wire-to-wire splices it’s usually helpful.
4) Make a mechanical connection before you add solder
Twist or wrap the wires together so they hold their shape. This matters because any movement during cooling can create a “disturbed joint” that looks okay but behaves flaky.
- For inline repairs, wrap each side around the other (Western Union style) so the joint resists pulling.
- Keep the splice compact, avoid stray strands, and ensure the overlap area is consistent.
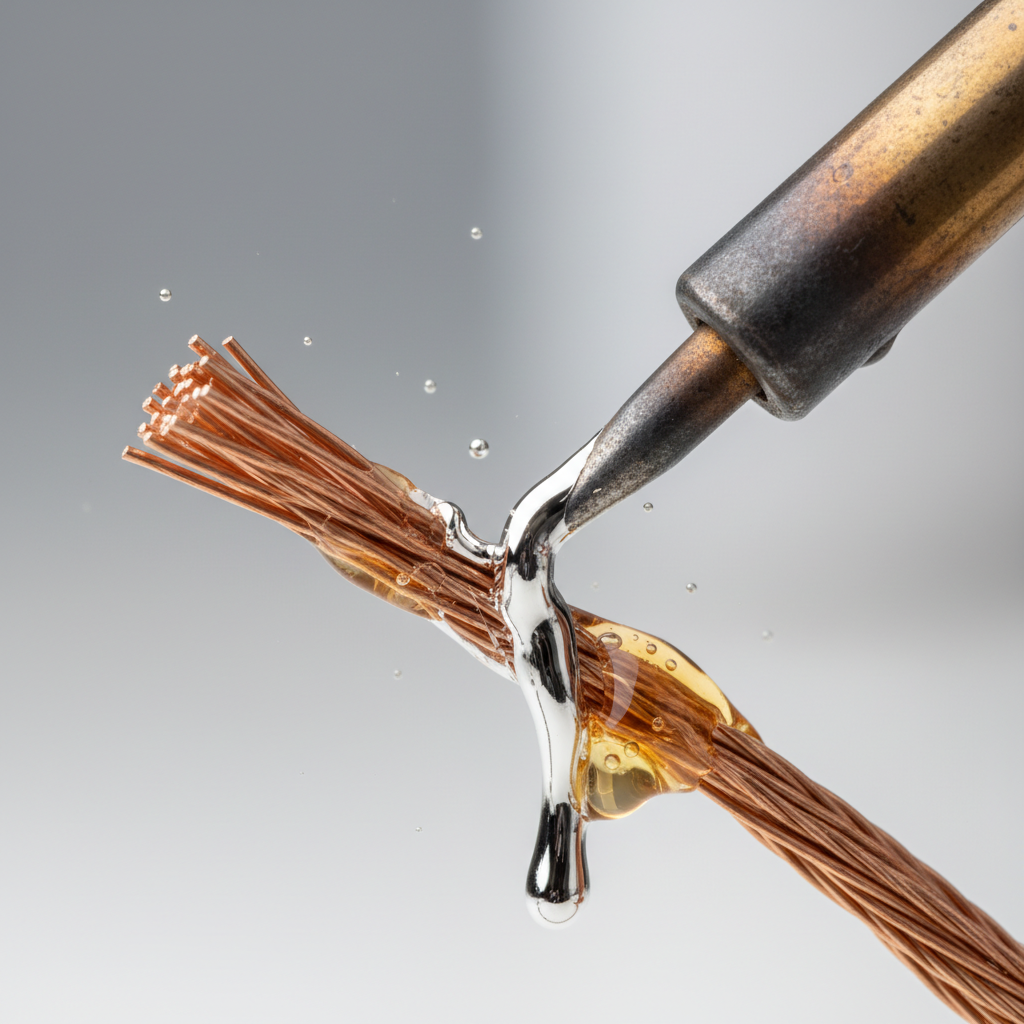
5) Heat the joint, then feed solder into the joint (not onto the tip)
Place the iron so it contacts both wires. Give it a moment so the copper warms, then feed solder where the wires meet. If the joint is hot enough, solder will wick through the strands and around the splice.
- If solder balls up or sits on top, the joint is typically not hot enough or not clean enough.
- If insulation shrinks back aggressively, you’re using too much heat for too long, or your tip is wrong for the job.
6) Stop, hold still, and let it cool naturally
Remove solder first, then remove the iron. Hold the joint steady for a few seconds. Avoid blowing on it; rapid cooling can sometimes make the surface look odd, and movement is the bigger risk.
7) Insulate and add strain relief
Slide heat shrink over the joint and shrink evenly. If the splice lives in a high-vibration spot, consider a longer piece of tubing or two layers, and route the wire so the joint isn’t acting like a hinge.
Quick quality checks: know if your joint is actually good
A solder joint can look “fine” and still fail. These checks take seconds and usually catch the common problems.
- Visual: smooth, shiny (often), and clearly flowed into strands; no spikes, balls, or gaps.
- Tug test: gentle pull on each side; it should not flex at the joint.
- Continuity: meter reads stable continuity; no flicker when you lightly move the wire.
- Resistance (when it matters): for power paths, check for unexpectedly high resistance compared to a known-good segment.
Lead-free solder can look a bit duller even when it’s acceptable, so don’t judge by shine alone. Wetting and stability are better indicators.
Troubleshooting: common solder wire problems and fixes
When people say they tried how to solder wires together properly and it “still won’t stick,” it usually lands in one of these buckets.
| Symptom | Likely cause | Practical fix |
|---|---|---|
| Solder beads up, won’t flow | Oxidation, not enough heat, no flux | Clean/strip to bright copper, add flux, use a larger tip or slightly higher temp |
| Dull, grainy joint | Cold joint or movement while cooling | Reflow with flux, hold still until solid |
| Insulation melts back | Too much dwell time, tip too small, overheating | Use a bigger tip for faster heat transfer, work quicker, lower temp if possible |
| Joint feels stiff and snaps later | Solder wicked too far into stranded wire, no strain relief | Use heat shrink for strain relief, minimize excess solder, support wire near the joint |
| Continuity is intermittent | Hidden fracture, disturbed joint, stray strand shorting | Cut back and redo, inspect strands, re-insulate carefully |
Practical tips for different wire types and situations
“Wire” is a broad word. The approach shifts depending on gauge, strand count, and what the splice will endure.
Stranded wire (most common in projects and automotive low-voltage)
- Use flux and let solder wick, but don’t over-soak the wire past the splice.
- Plan strain relief, because soldered stranded wire can create a stiff point that fatigue-cracks right next to the joint.
Solid core wire (common in breadboards and some home wiring contexts)
- Solid wire holds shape well, but can snap if repeatedly bent at the joint.
- If the joint might move, add support or avoid solder splices in favor of connectors.
Thicker gauge wire
- Use a tip with more thermal mass and consider a slightly higher temperature.
- Pre-tin both sides, then join and reflow quickly to avoid cooking insulation.
Safety, ventilation, and when soldering is not the right choice
Soldering is generally safe with basic precautions, but there are a few non-negotiables. According to OSHA, controlling exposure to fumes and particulates is a key part of a safer workplace; for home use, that translates to ventilating well and keeping fumes out of your breathing zone.
- Ventilation: use a fume extractor or fan pulling fumes away from your face.
- Burn risk: treat the iron like a stovetop burner, park it in a stable stand.
- Lead caution: if using leaded solder, wash hands after handling, keep food off the bench.
- Fire risk: keep the cord from snagging, don’t leave a hot iron unattended.
Also, some scenarios favor crimping or a proper connector instead of a solder splice, especially where constant flexing happens or where code applies. For household mains wiring, local electrical code often dictates approved methods; if you’re unsure, it’s smart to consult a licensed electrician.
Key takeaways to keep on your bench
- Prep beats technique: clean copper plus flux solves most headaches.
- Heat the work, not the solder: solder should flow because the joint is hot.
- Don’t rely on solder for strength: make a mechanical splice, then solder.
- Insulate and relieve strain: heat shrink prevents shorts and reduces fatigue failures.
- Test before you close it up: a quick meter check saves a full teardown later.
Conclusion: make the joint boring, and it will last
Once you internalize how to solder wires together properly, the goal shifts from “make it shiny” to “make it predictable.” Clean surfaces, enough heat, a stable splice, and simple strain relief tend to beat fancy tricks.
If you’re fixing something important, do one extra step: redo the joint if you feel uncertain. Materials are cheap, troubleshooting time is not.
Pick one small project, practice five splices in a row, and use the visual and meter checks above; that repetition is usually what turns soldering from stressful to routine.