
how to use a socket wrench set properly starts with two things most people skip: choosing the correct socket fit and controlling torque, because that’s where rounded bolts and busted knuckles usually come from.
If you’ve ever felt a socket slip, heard that ugly “pop,” or realized you’re turning the wrong direction in a cramped spot, you’re not alone, a socket set looks simple but it rewards good habits.
This guide breaks down what each piece does, how to match drive size and socket type to the job, and the small technique changes that make your work faster and cleaner, without over-tightening or damaging fasteners.

Know your socket wrench set: what each part actually does
A socket wrench set is basically a modular turning system, you swap pieces until the tool fits the fastener and the space. Once you stop treating every socket like it’s interchangeable, you get fewer slips and more control.
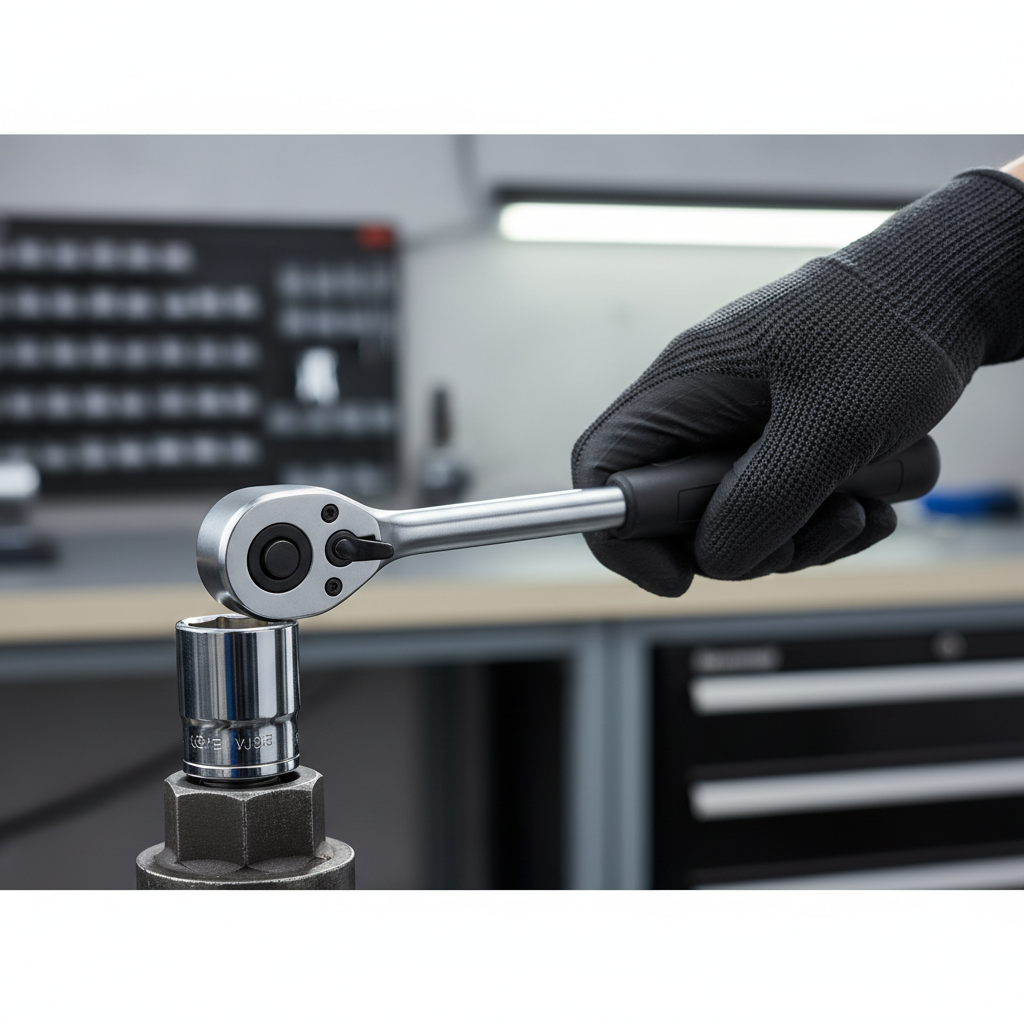
- Ratchet: the handle with a gear mechanism, it turns the fastener in one direction while you “reset” without removing the socket.
- Sockets: the cups that fit over the bolt head or nut, they come in different sizes and profiles.
- Extensions: add reach for recessed bolts or deep wells, great in engine bays or furniture frames.
- Universal joint (swivel): helps when you can’t keep the ratchet perfectly in line, useful but easier to slip if overloaded.
- Adapters: let you use a different drive size, handy but not ideal for high torque.
- Breaker bar (if included): long non-ratcheting handle for stubborn fasteners, safer than “cheater pipes” in many cases.
One quick vocabulary note: sockets are either SAE (inches) or metric (millimeters). On U.S. vehicles and equipment, you may see both, older gear often skews SAE, newer automotive work tends to skew metric, but it varies.
Pick the right drive size and socket type (this is where most mistakes start)
Before you turn anything, match the tool to the job. People usually grab whatever ratchet is closest, then wonder why it feels “mushy” or why the socket twists.
Drive size: 1/4, 3/8, 1/2 (and why it matters)
| Drive size | Best for | Typical feel | Common mistake |
|---|---|---|---|
| 1/4-inch | Small fasteners, light-duty work, tight spaces | Quick, precise | Using it on stubborn bolts and cracking sockets/adapters |
| 3/8-inch | General automotive, home repair, most “normal” bolts | Balanced | Over-torquing delicate fasteners because it feels strong |
| 1/2-inch | High torque: lugs, suspension, large hardware | Powerful | Using too much force where specs matter, stripping threads |
Socket profile: 6-point vs 12-point
- 6-point sockets grip the flat sides of the fastener, they’re usually the safer choice for tight or rusty bolts.
- 12-point sockets give more angle options in tight spaces, but they can round off stubborn hardware more easily.
If you’re unsure, start with a 6-point. You can always switch later if access is the real problem.
Fit and direction: the two-second checks that prevent rounded bolts
Most damage happens in the first quarter turn. If the socket isn’t seated or the ratchet is set wrong, you end up with a half-chewed bolt head before you realize what happened.
- Seat the socket fully: push it straight onto the fastener until it bottoms out, don’t start at an angle.
- Confirm direction: flip the ratchet lever and test with a tiny movement, especially upside down or in mirrors.
- Keep alignment: try to keep the ratchet handle in line with the bolt axis, angled force invites slipping.
According to OSHA, hand tool injuries often come from using the wrong tool or improper use, so taking a moment to confirm fit and setup is not “being slow,” it’s basic risk control.
A quick self-check: what situation are you in?
Different fasteners want different approaches, and this is the part that makes using a socket set feel “easy” instead of like a fight.
- New hardware, clean threads: standard ratchet + correct socket size, normal hand force.
- Rusty or painted-over fastener: 6-point socket, steady pressure, consider penetrant and a breaker bar.
- Tight space, limited swing: shorter ratchet, 12-point only if necessary, wobble extension instead of a loose universal when possible.
- High-torque critical fastener (lug nuts, suspension components): start with a breaker bar for removal, finish with a torque wrench for installation.
- Soft material (aluminum, plastic housings, small engine covers): smaller drive, lighter touch, follow specs if available.
If you don’t know which category you’re in, treat it as “rusty or critical” until proven otherwise, that mindset prevents most expensive mistakes.
Step-by-step: how to use a socket wrench set properly in real jobs
The mechanics are simple, but consistency matters. Here’s a workflow that holds up across most home, auto, and shop tasks.
1) Choose the right socket size (no guessing)
- Try the socket on by hand, it should seat with minimal wiggle.
- If it feels loose, stop and go one size down, a “close enough” fit is how bolts get rounded.
- For metric vs SAE confusion, compare both sets quickly rather than forcing one.
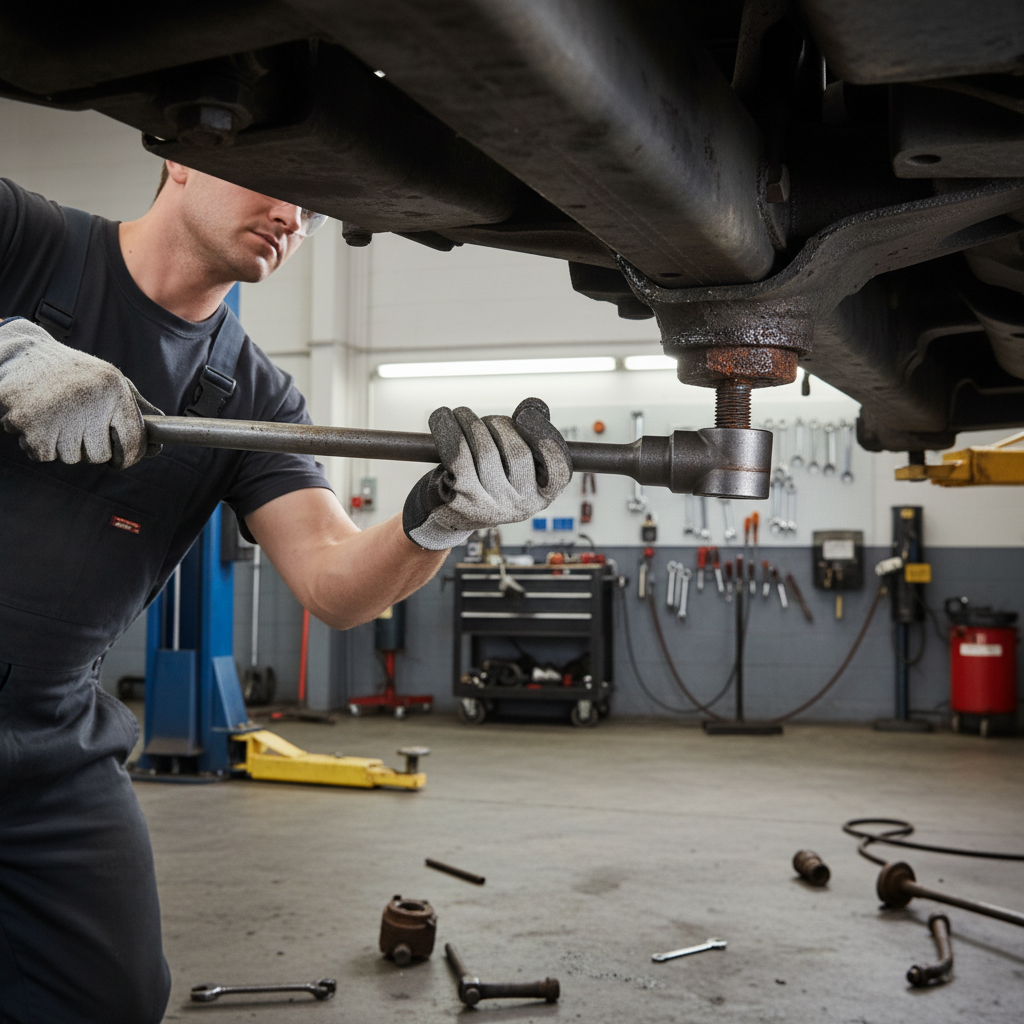
2) Break loose with control
- Use a breaker bar or a longer handle when the fastener resists, avoid jerky yanks on a small ratchet.
- Apply force smoothly, keep the socket straight, and brace your other hand if you can.
- If the fastener feels like it’s twisting oddly, stop and reassess, it may be cross-threaded or seized.
3) Switch to the ratchet for speed
- Once it breaks free, swap to the ratchet, shorter strokes reduce fatigue in tight areas.
- If swing arc is tiny, consider a shorter extension, a flex-head ratchet, or repositioning for a better angle.
4) Reinstall by hand first, then snug
- Start threads by hand whenever possible, this lowers the chance of cross-threading.
- Snug with the ratchet, but don’t “gorilla tight” unless specs say so.
- On critical fasteners, finish with a torque wrench, not the ratchet.
According to NIST, measurement and calibration matter across tools and industries, and while they don’t “set car lug nut specs,” the bigger point stands: when torque matters, a calibrated torque tool is the safer path than feel.
Practical tips for tight spaces, stubborn bolts, and delicate fasteners
This is where people actually struggle, not on a clean bolt at chest height, but under a sink, behind an alternator, or on a rusty bracket.
Tight spaces
- Use the shortest stack of tools possible, each extra adapter adds wobble.
- Prefer a wobble extension for slight angles, it tends to hold better than a universal joint under load.
- If you need a 12-point for access, use it carefully and keep pressure straight.
Stubborn or rusty fasteners
- Use a 6-point socket and a breaker bar, let leverage do the work.
- Penetrating oil can help, many people don’t give it enough time to work.
- Light tapping on the socket (not the ratchet head) can help seat it fully, use judgment and protect surrounding parts.
Delicate fasteners
- Drop down to a smaller drive if you can, it naturally limits torque.
- Use a short handle, it’s harder to over-tighten by accident.
- If something feels “spongy” while tightening, stop, you may be stripping threads.
Common mistakes (and what to do instead)
A lot of “socket sets don’t work” stories are really setup issues. Fix these and you’ll feel the difference immediately.
- Using the wrong socket size: if it rocks on the fastener, swap sizes, don’t muscle through.
- Using 12-point on stuck hardware: start with 6-point when torque is high.
- Stacking adapters + universals: it increases flex, use fewer pieces and a better access plan.
- Ratcheting to break loose: a breaker bar often gives more control and reduces ratchet wear.
- Over-tightening “because it feels secure”: many assemblies need “snug plus spec,” not maximum effort.
Key takeaway: if you feel slipping, stop early, once the corners round, every next attempt gets harder and more expensive.
When to slow down or get professional help
Using a socket wrench set properly also means knowing when you’re past DIY territory. Some situations are fine for a careful homeowner, others can snowball fast.
- Safety-critical systems (brakes, steering, suspension): torque specs and correct procedures matter, consider a qualified mechanic if you’re unsure.
- Repeatedly seized or corroded bolts: heat, extractors, and replacement hardware may be needed, mistakes can break studs.
- Rounded fasteners: continuing with the same socket often makes it worse, a pro may use specialty sockets or extraction tools.
- Unknown materials (some aluminum housings, composites): threads can strip easily, get guidance if you can’t find specs.
If there’s any chance a failure could cause injury or road risk, it’s usually worth paying for certainty, even if you enjoy doing your own work.
Conclusion: a simple routine that keeps you fast and safe
When you learn how to use a socket wrench set properly, the biggest improvement is not strength, it’s choosing a better-fitting socket, keeping it aligned, and switching tools at the right moment. Start with a 6-point, break loose with leverage, and finish critical installs with a torque wrench.
If you want one action step today, lay out your set and sort by drive size and socket type, then the next time you reach for a tool, you’ll pick correctly without thinking, and that’s where speed comes from.