
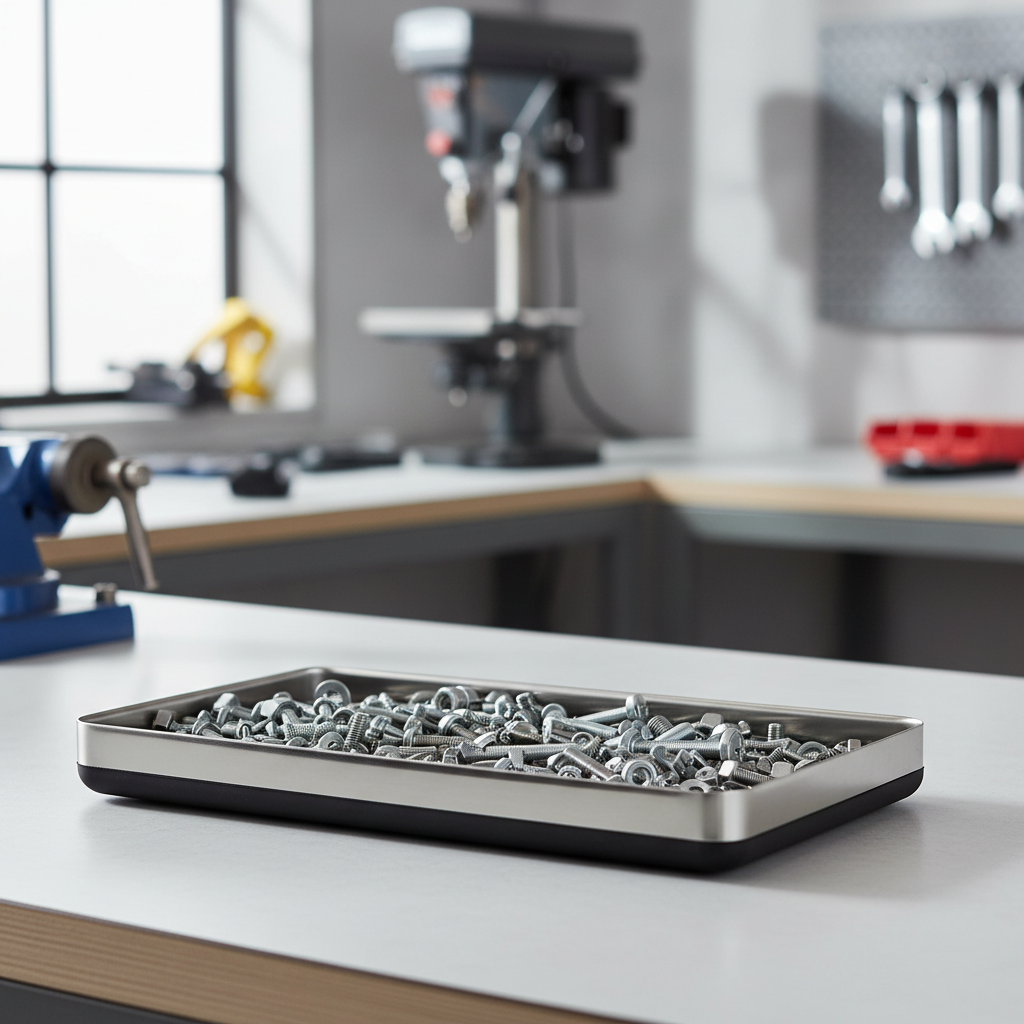
parts tray magnetic non slip is one of those shop tools you don’t miss until a screw bounces once and disappears forever, under a workbench, into grass, or straight into a floor drain.
Whether you wrench on cars, assemble furniture, service small engines, or do HVAC and electrical work, losing tiny fasteners slows everything down, and it also adds risk, wrong bolt in the wrong spot becomes a real problem. A good tray is less about “holding parts” and more about keeping your workflow calm.
This guide breaks down what makes a non-slip magnetic parts tray actually useful, how to choose the right size and magnet strength, plus a few habits that keep your screws and nuts organized from teardown to reassembly.
Why fasteners disappear (and why trays help more than you think)
Most “lost hardware” isn’t dramatic, it’s small physics and messy work surfaces. A nut lands on a slight slope, vibrates from an impact driver, then rolls, and once it hits clutter, it’s gone.
- Vibration and bounce: ratchets, impacts, even tapping a part loose makes hardware hop.
- Mixed surfaces: concrete, asphalt, truck beds, and uneven benches make rolling easier.
- Task switching: you set parts down “for a second,” then move to the next step and forget.
- Similar-looking hardware: wrong length screw during reassembly wastes time and can strip threads.
A magnetic tray adds two controls at once: the magnet resists movement, and the “drop zone” keeps parts from migrating across the bench. The non-slip base is the part people underestimate, it keeps the tray itself from skating around when you bump it or work at an angle.
What “non-slip magnetic” really means in a parts tray
Not every tray marketed as magnetic behaves the same. The details are what separate a tray you trust from one you stop using.
Magnet design and hold
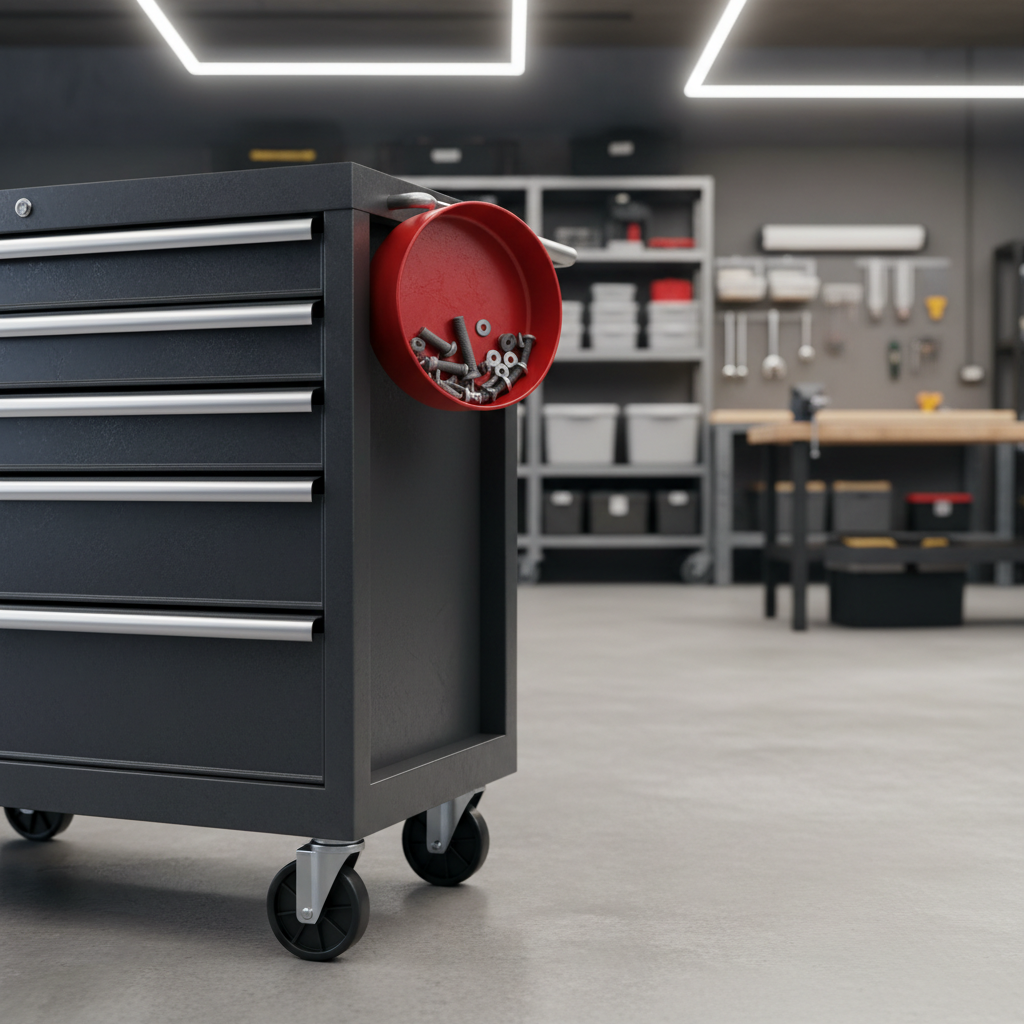
A well-built tray typically uses a magnet mounted under the stainless bowl or base, giving you two ways to use it: stick the tray to metal, and hold fasteners inside the bowl. If you plan to mount it on a lift post, a fender, or a toolbox, magnet placement and surface contact matter.
Non-slip base (rubber, silicone, or coated feet)
“Non-slip” usually means a rubberized ring or full pad that increases friction on smooth benches, carts, and painted surfaces. It also helps avoid scuffing. If you work on painted body panels, check the underside finish and keep it clean, grit trapped under a tray can scratch.
Material and lip shape
Stainless bowls are common because they clean easily and resist corrosion. A slightly higher lip helps when you carry the tray from bench to vehicle. Shallow, wide trays are easier to grab parts from, deeper ones are better for transport.
Quick self-check: do you need one tray or a system?
People buy one tray and expect it to solve every job. Sometimes it does, sometimes you really need two or three trays with roles.
- If you often disassemble multiple sub-assemblies (brakes + calipers + brackets), you’ll likely want multiple trays.
- If you work outdoors or on driveways, prioritize strong magnet + taller lip.
- If you do electronics, firearms, or small appliance repair, look for smaller diameter and a clean, smooth interior so tiny screws don’t hide.
- If your work area is non-metal (wood bench, plastic cart top), the non-slip base matters more than “mounting strength.”
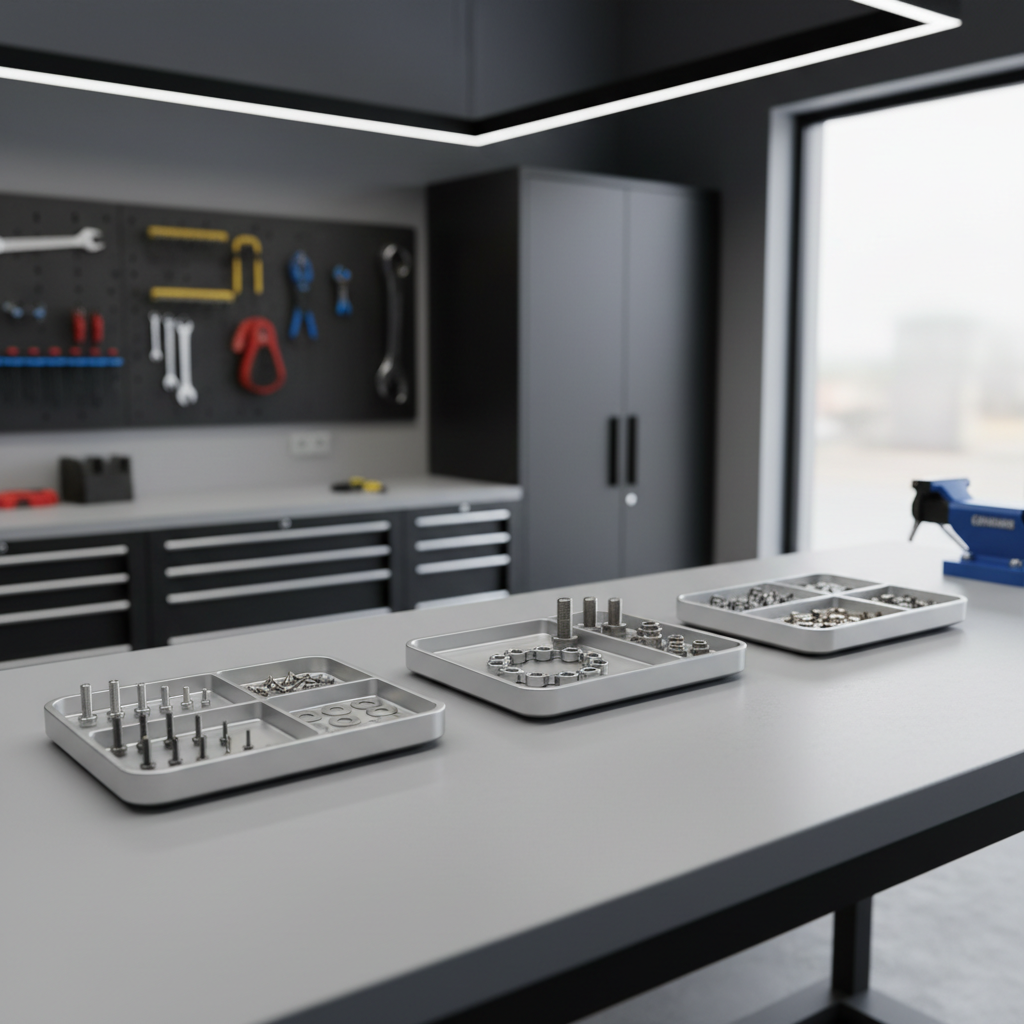
A good rule: one tray for “active” hardware you’re touching now, another for “finished” hardware you already sorted, and a third only when the job has mixed lengths that look identical.
Choosing the right tray: size, strength, and where you’ll use it
Picking a parts tray magnetic non slip is mostly about matching it to your work habits, not chasing the biggest magnet on the page.
| Use case | Recommended tray style | Why it works |
|---|---|---|
| Automotive bays and tool carts | Medium/large stainless bowl, strong base magnet | Holds heavier bolts, mounts to steel surfaces nearby |
| Driveway repairs, mobile work | Taller lip, grippy non-slip base | Reduces spills when carrying, resists sliding on uneven surfaces |
| Small engine or appliance teardown | Two smaller trays instead of one large | Keeps similar screws separated, less “mixing” risk |
| Bench assembly and woodworking hardware | Wide shallow tray, strong non-slip pad | Easy access to parts, stable on wood benches |
Key takeaway: if you routinely work on vertical metal surfaces, magnet strength becomes a buying priority, if you mainly work on a bench, stability and interior shape tend to matter more.
How to use a magnetic tray so reassembly stays painless
The tray prevents loss, but organization prevents rework. A couple small habits make a bigger difference than people expect.
Use “zones” inside the tray
- Left side: hardware from the first layer you remove
- Right side: hardware from the next layer
- Center: washers, clips, small spacers that vanish easily
If the bowl is round, you can still create zones mentally, or drop in a small piece of clean cardboard as a divider for long jobs.
Pair the tray with quick labeling
A strip of painter’s tape on the bench next to the tray with a short note like “upper cover” or “caliper bracket” saves you from guessing later. You’re not writing a novel, just leaving yourself a breadcrumb.
Don’t overload it
Magnets hold best when fasteners make good contact. If you pile a mountain of bolts, the top layer can slide. When the job grows, add a second tray rather than forcing one to do everything.
Common mistakes that make a “non-slip” tray feel pointless
When people tell me a tray didn’t help, it’s usually one of these situations.
- Dirty underside: oil and metal filings reduce grip, and trapped grit can scratch painted surfaces.
- Wrong placement: setting it where your elbow constantly hits it turns it into a spill hazard.
- Assuming all screws are magnetic: many stainless fasteners are weakly magnetic or not magnetic at all, so don’t count on the magnet to “grab” every piece.
- Mounting on thin sheet metal: a tray may hold, but it can slide if the contact area is small or the surface is curved.
Also, be cautious around sensitive electronics and magnetic storage. According to NIST (National Institute of Standards and Technology), strong magnetic fields can affect certain instruments and measurement setups, so if you work near sensors or precision equipment, keep magnets at a safe distance and follow manufacturer guidance.
When you might need a different solution (or a pro opinion)
A parts tray magnetic non slip solves “where did that bolt go,” but it won’t solve every workflow problem.
- If you must keep torque-critical hardware in exact order, consider compartment organizers or a bolt board (cardboard template) alongside the tray.
- If you work at heights or in confined spaces, a magnetic wristband plus a tray on the cart can be safer than carrying loose fasteners.
- If you’re servicing equipment with safety implications, follow the OEM manual, and if you’re unsure about fastener grade or placement, it may be worth asking a qualified technician.
There’s no shame in mixing tools: a tray for day-to-day retention, and a labeled organizer for anything that must go back in the exact same hole.
Conclusion: a small tool that protects your time
If you lose screws and nuts often, the fix is rarely “try harder,” it’s creating a reliable landing spot. A tray with a confident magnet and a truly grippy base keeps parts from roaming, and it keeps your head in the job instead of on the floor with a flashlight.
Pick one that matches where you work, start using two simple habits like zoning and quick labels, and you’ll notice the difference on the next teardown, not months later.
FAQ
What size magnetic parts tray should I buy for auto repair?
For most automotive jobs, a medium to large bowl is comfortable for lug nuts, brackets, and mixed hardware. If you frequently do multi-step tear-downs, two medium trays can be easier than one oversized tray.
Will a non-slip magnetic parts tray scratch painted surfaces?
It can if dirt or metal filings get trapped under the base. Keeping the underside clean matters more than the material name, and on fresh paint you may prefer placing the tray on a cart instead of a body panel.
Do magnetic trays work with stainless steel screws?
Sometimes. Many stainless fasteners are less magnetic than carbon steel, and some are effectively non-magnetic in normal use, so it’s smart to test a screw before relying on magnet hold.
How strong should the magnet be to stick to a fender or lift post?
In real shops, curved or thin sheet metal reduces holding power. If you plan to mount the tray vertically, look for designs with a wide magnetic base and avoid overloading the bowl.
Is a parts tray magnetic non slip useful on a wooden workbench?
Yes, but the benefit shifts. You’ll lean more on the non-slip base and the bowl shape for containment, while the magnet mainly helps hold the fasteners inside the tray rather than attaching the tray itself.
How do I keep hardware organized during a long project?
Use more than one tray, keep “active” parts separate from “done” parts, and add quick labels nearby. If fasteners are similar lengths, a simple cardboard bolt map can prevent mix-ups.
Are magnetic trays safe around power tools and electronics?
They’re generally fine around hand tools, but magnets can interfere with certain sensitive instruments. If you work near sensors, meters, or specialized equipment, follow manufacturer guidance and keep magnets at a conservative distance.
If you’re trying to stop losing fasteners mid-job, a non-slip magnetic tray is an easy upgrade, and if you want a more foolproof setup, pairing it with a second tray or a small compartment organizer usually gets you there without making your bench feel complicated.