
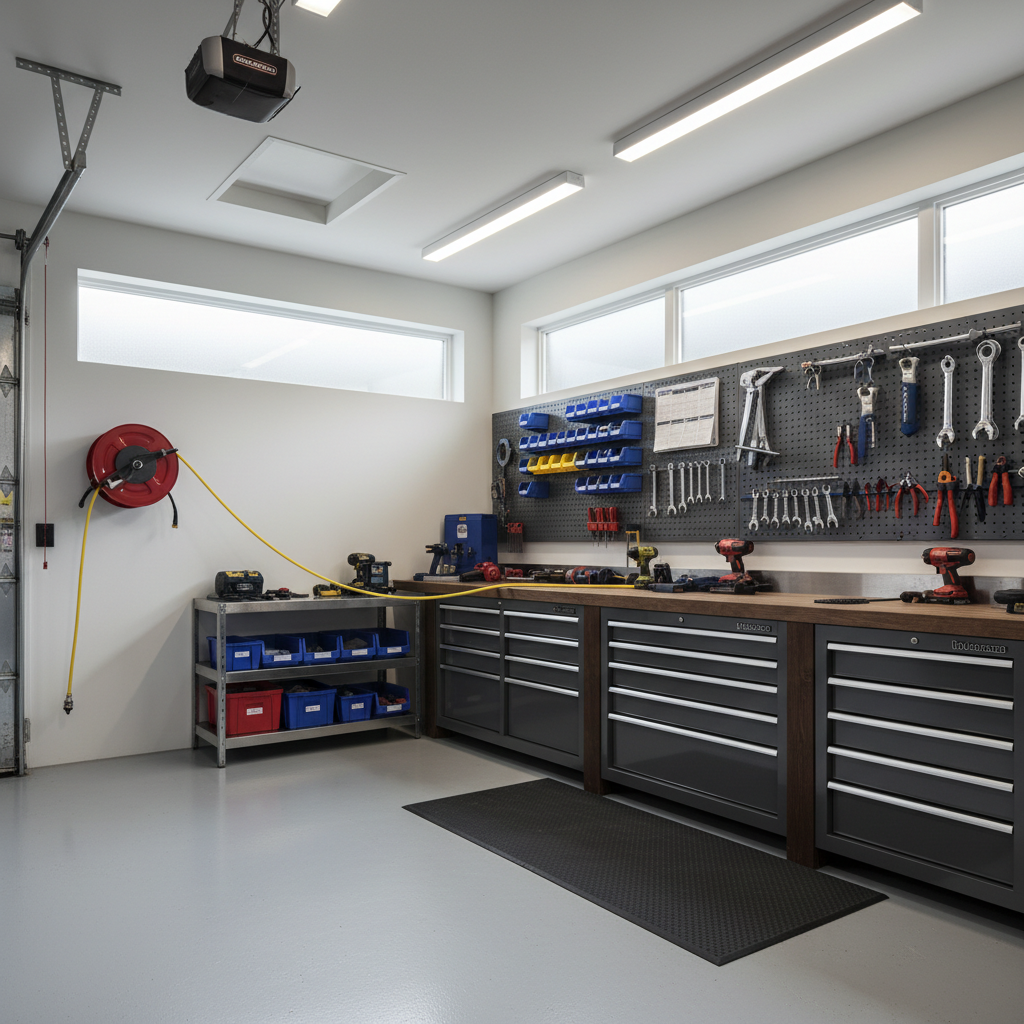
How to install an air hose reel on wall comes down to two things: mounting into solid structure (usually studs or masonry) and placing the reel where the hose pulls straight without rubbing or kinking.
If you’ve ever had a reel rip loose, wobble, or make your air hose feel “heavy” when you pull, it’s rarely the reel’s fault. Most problems come from bad anchors, wrong height, or mounting too close to corners and benches.
This guide walks through wall type choices, tools, a practical step-by-step install, and a quick checklist to confirm your setup feels smooth and safe before you call it done.
Plan the install: wall type, placement, and hose path
Before drilling anything, decide what you’re actually fastening into. An air hose reel pulls in bursts, the mount sees repeated shock loads, especially with spring-rewind reels.
- Drywall over wood studs: best option for most garages, mount into studs with lag screws.
- Drywall over metal studs: workable, but often needs a plywood backer or a rated metal-stud solution.
- Concrete or block: use masonry anchors rated for shear and pull-out.
Placement matters more than people expect. Choose a spot where the hose can pull straight toward your typical work area. If the hose constantly drags across a corner, it wears the hose jacket and makes the reel feel like it “sticks.”
Practical height: many users land around chest height so you can see the latch and guide the hose back in, but your ideal height depends on reel size and who uses it.
Tools and hardware you’ll likely need
Most installs fail because of “close enough” hardware. Use fasteners sized for the reel’s mounting plate and the wall structure, and when in doubt, follow the reel manufacturer’s instructions.
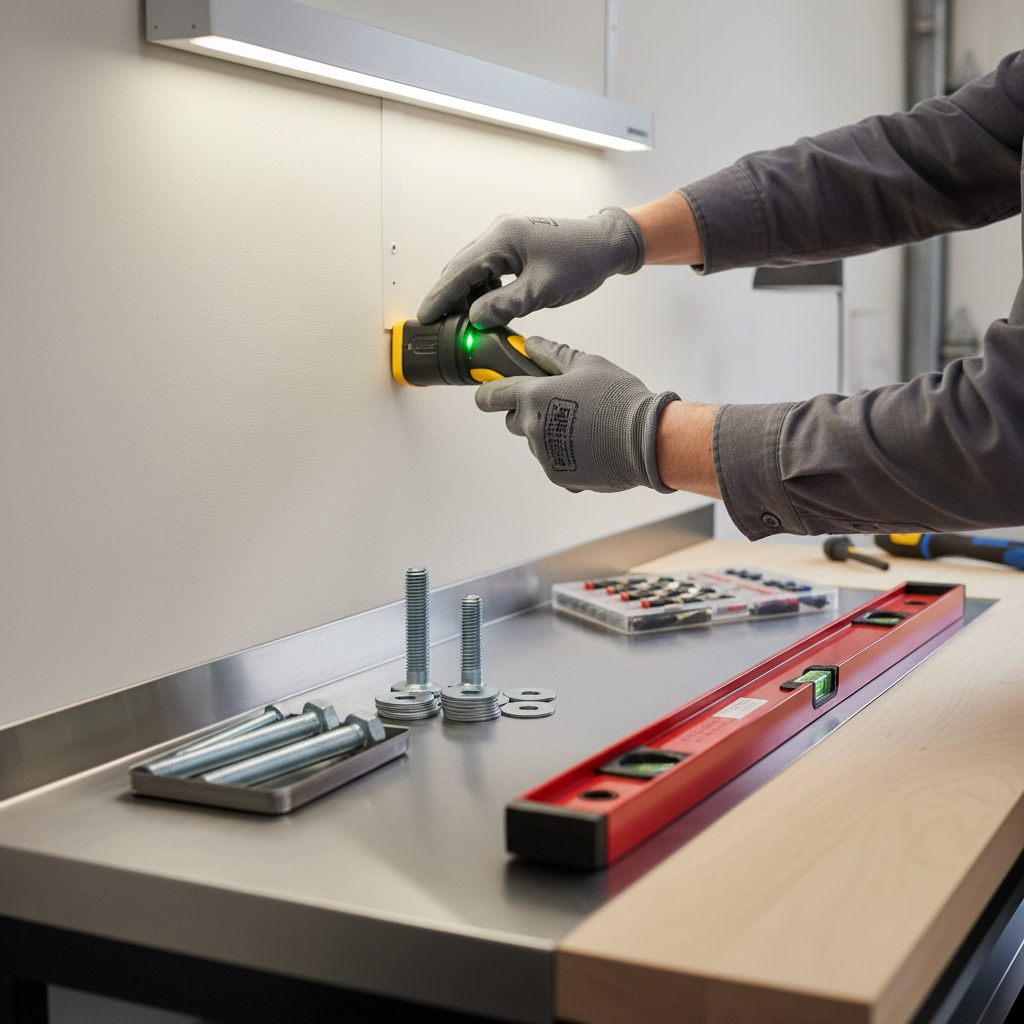
- Stud finder (and a small finish nail for verification)
- Level and tape measure
- Drill/driver and drill bits (wood bit or masonry bit)
- Socket wrench for lag screws
- Lag screws + washers for wood studs, or concrete wedge anchors for masonry
- Pencil, safety glasses, hearing protection as needed
If your reel is heavy, add a second person for lifting and alignment. Spring rewind units can be awkward to hold in place while you start fasteners.
Quick decision table: choose the right mounting method
If you’re unsure what to buy at the hardware store, use this as a starting point. Always match the reel’s mounting holes and load guidance.
| Wall situation | Recommended approach | Hardware notes |
|---|---|---|
| Drywall over wood studs | Mount directly to studs | Lag screws with washers, pre-drill pilot holes |
| Drywall, studs don’t line up with reel holes | Add a plywood backer board into studs | 3/4 in plywood common choice, then mount reel to plywood |
| Concrete / cinder block | Direct masonry mount | Wedge anchors or sleeve anchors, correct masonry bit size |
| Metal studs | Backer board or manufacturer-rated metal-stud kit | Avoid basic toggle bolts for high-pull applications |
Key point: drywall anchors alone often don’t hold up long-term for a reel that gets yanked daily, even if the package claims a high static rating.
Step-by-step: how to mount an air hose reel to a stud wall
This is the most common U.S. garage setup. The goal is simple: fasten into stud center, keep the reel level, and avoid crushing drywall.
1) Mark your mounting height and stud locations
Locate two studs where the reel will sit. Confirm by checking for consistent stud edges and, if needed, a small verification hole where it will be covered by the mounting plate.
2) Hold the reel or bracket in place and mark holes
Many reels come with a separate mounting bracket. If yours does, mount the bracket first, then hang the reel. Use a level so the hose feeds evenly.
3) Drill pilot holes
Pre-drill into studs to reduce splitting and to make driving lag screws smoother. Choose a pilot bit size appropriate for the lag screw shank.
4) Fasten with lag screws and washers
Drive the lag screws snug, then stop. Over-tightening can crush drywall and leave the reel slightly “floating,” which turns into wobble later.
5) Mount the reel, then test pull and rewind
Pull the hose out fully and retract it a few times. If the reel tilts or squeaks against the wall, re-check fastener tightness and whether you caught stud center.
According to OSHA, compressed air used for cleaning purposes should be reduced to safe levels and used with appropriate guarding and PPE where applicable, so if you’re setting up the reel for blow-off tasks, confirm you have proper nozzles and pressure controls for your shop routine.
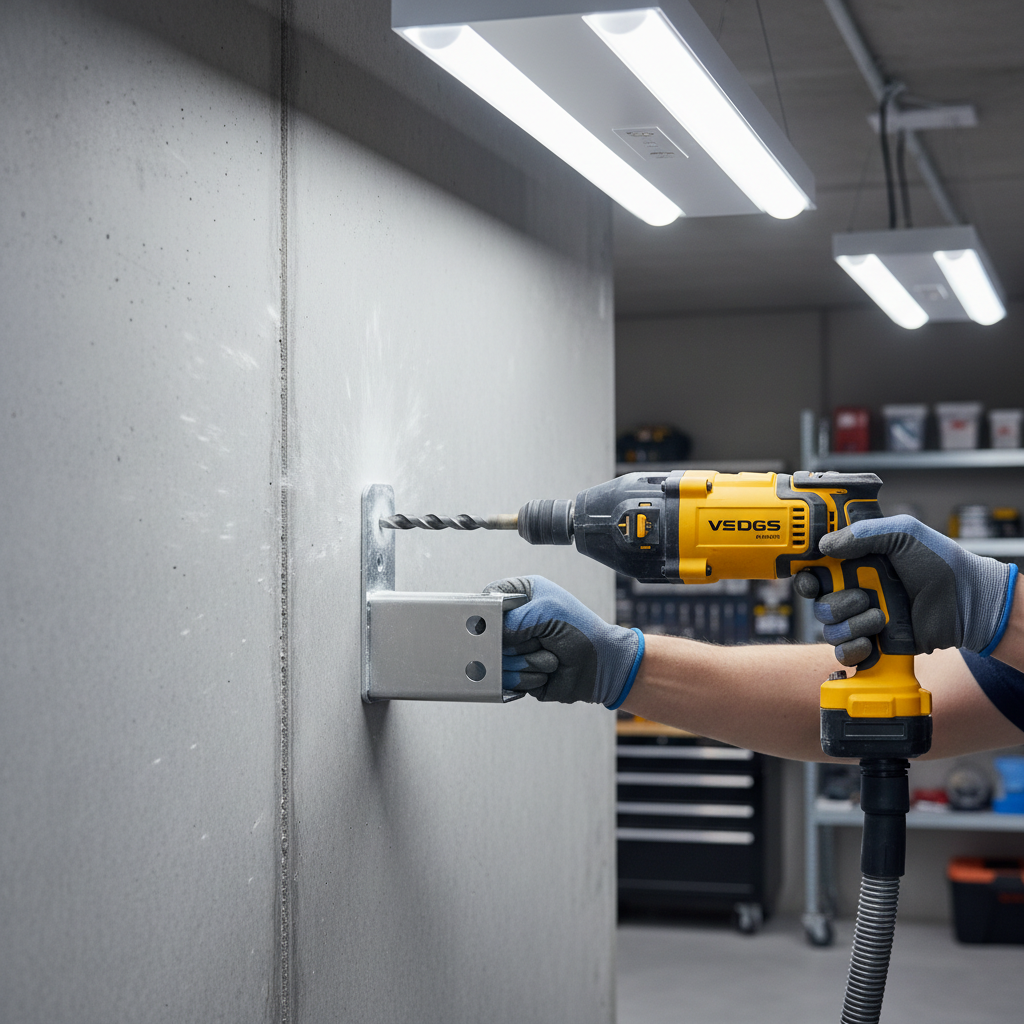
Step-by-step: mounting on concrete or block
For masonry, the biggest mistake is using the wrong drill bit size or shallow hole depth, anchors need the correct hole to develop holding strength.
- Mark holes with the bracket level, then center punch lightly to prevent bit walk.
- Drill with a masonry bit to the depth required by the anchor plus a little extra for dust.
- Clean the holes (blow out or vacuum dust) so anchors seat correctly.
- Set anchors (wedge/sleeve) per instructions, then tighten to a firm, even torque.
If you’re working with older block walls, hollow sections can change anchor choice. In that case, a sleeve anchor or a properly rated adhesive anchor might be more appropriate, and a local hardware pro can usually point you to what’s typical for your wall.
Self-check checklist: is your reel mounted “right”?
Before you connect air and call it finished, run this quick check. These are the little things that prevent annoyances later.
- No wobble when you pull hard at different angles
- Hose path clears corners, shelves, and sharp edges
- Rewind works smoothly, hose doesn’t stack heavily on one side
- Mounting bolts sit flat with washers, no bending bracket ears
- Shutoff valve is reachable, regulator is accessible if you use one
- No air leaks at swivel, fittings, or quick couplers after pressurizing
If something feels off, fix it now. Once you start using the reel daily, small alignment issues turn into hose wear and constant irritation.
Common mistakes (and the fixes that actually work)
- Using drywall anchors only: switch to studs, or add a plywood backer that’s lagged into studs.
- Mounting too close to a corner: move the reel so the first 3–6 feet of hose pulls straight.
- Wrong fitting direction: check inlet/outlet orientation, avoid forcing tight hose bends at the swivel.
- Skipping a shutoff: add an inline ball valve near the reel so you can isolate it without hunting for the compressor valve.
- Over-tightening fasteners: snug plus a bit, then verify again after a few days of use.
Also, don’t ignore noise and vibration. Sometimes the reel is solid, but the compressor line whips because it’s unsupported, adding a short whip hose and a clamp or strap often calms everything down.
When it’s worth calling a pro
You can usually handle a basic garage install, but a few situations justify professional help, either a handyman or a contractor familiar with your wall type.
- Unclear wall structure, especially in older buildings or finished walls
- High-mounted reels that require ladders and overhead drilling
- Commercial spaces with code requirements, pipe drops, or hard-plumbed air lines
- Persistent leaks or regulator issues that suggest compressor system problems
If you’re tying into a hard line system, consider a licensed professional. Small mistakes with fittings, sealants, or unsupported piping can become recurring leak points.
Conclusion: a clean mount makes the reel feel “better” every day
How to install an air hose reel on wall is less about fancy tools and more about good anchoring and smart placement, once the reel sits on solid structure and the hose pulls straight, the rewind behaves, the hose lasts longer, and the whole workspace feels less cluttered.
If you want one action to take today, pick the location and confirm your stud or masonry plan first, then buy hardware that matches that plan instead of trying to make leftover anchors work.