
how to load nails into a brad nailer comes down to three things: the right brads for your tool, the magazine opened the right way, and a quick safety routine so you do not fire by accident.
If you have ever fought constant jams, brads that “half set,” or a nailer that refuses to fire after a reload, it is rarely random. Most of the time it is a mismatch between brad gauge/angle/length and what the nailer accepts, or the strip is seated slightly off in the magazine.
This guide keeps it practical. You will learn what to check on the box and tool label, how to load common magazine styles, and what to do if the nails keep jamming even though you “loaded them correctly.”
Start with safety and the right brads (this prevents most headaches)
Before you touch the magazine, treat the nailer like it can fire. It sounds obvious, but most reload mishaps happen during “just a quick top-off.” According to OSHA, pneumatic tool safety generally starts with controlling the air supply and preventing unintended actuation.
- Disconnect power: unplug electric/cordless battery, or disconnect the air hose on pneumatic models.
- Clear the nose area: keep fingers away from the contact tip, especially if you are troubleshooting.
- Wear eye protection: brads and small debris can ricochet, especially around trim.
Now confirm the fasteners. “Brad nailer” usually means 18-gauge brads, but some tools accept only certain lengths or have picky magazine designs.
- Gauge: most brad nailers take 18-gauge, but verify the tool label or manual.
- Length range: common ranges run about 5/8 in. up to 2 in., but your model may be narrower.
- Collation style: most brads come in straight strips, but the brand and strip thickness still matter.
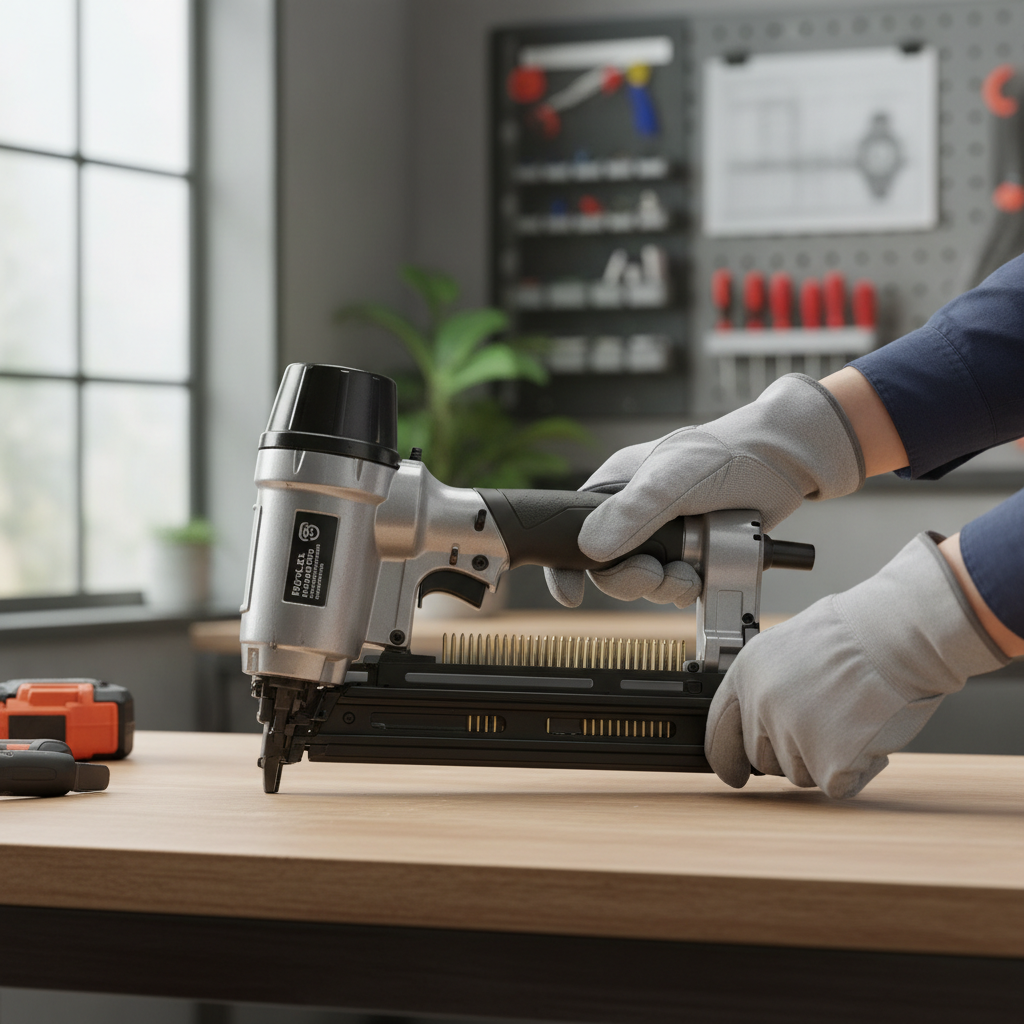
Know your nailer’s magazine type (loading steps change a bit)
There are a few common magazine designs. If you follow steps for the wrong style, you can seat the strip incorrectly even if it “fits.”
| Magazine style | What it looks like | Common loading mistake |
|---|---|---|
| Bottom-load (slide latch) | Latch at base, magazine opens from bottom | Brads flipped so points face the wrong direction |
| Rear-load (pull-back follower) | Spring follower pulls back, strip drops in | Follower not locked, strip shifts and causes misfeed |
| Side-load (swing door) | Side door swings open near the nose | Strip not seated flat against the rail |
Tip: if your nailer has a label near the magazine showing a tiny brad diagram, believe that over your memory.
How to load nails into a brad nailer (step-by-step)
This workflow covers most brands. The details vary, but the principles stay consistent: power off, magazine open, brads aligned, follower engaged, test fire on scrap.
1) Power down and open the magazine
- Remove battery or unplug cord, or disconnect the air hose.
- Press the magazine release, then slide or swing the magazine open until it stops.
If the magazine feels gritty or stiff, do not force it. A bent strip or debris in the rail can make the next jam basically guaranteed.
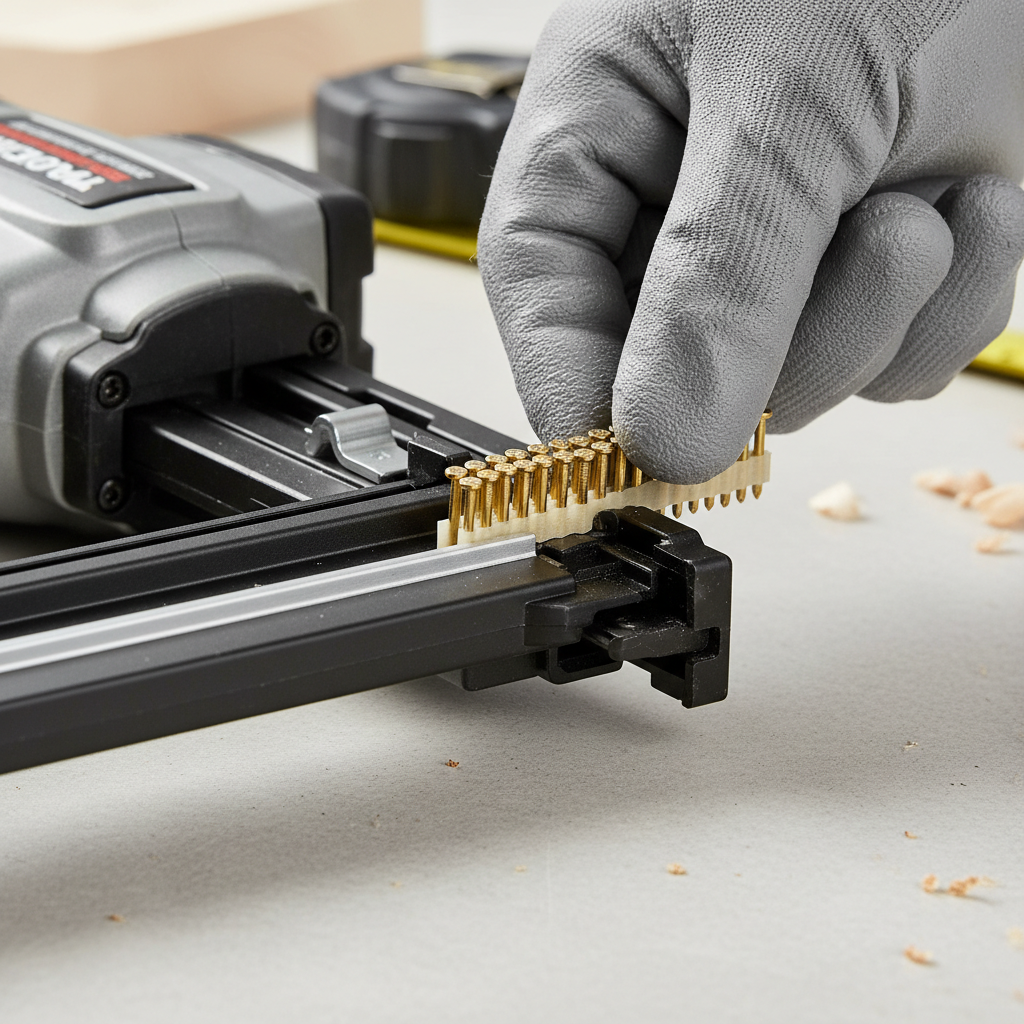
2) Insert the brad strip with the correct orientation
- Set the strip on the magazine track so it sits flat.
- Make sure the points face toward the nose in the direction the nail will travel.
- Keep the strip snug against the guide rail; do not let it ride up on the edge.
Many feeding problems come from a strip that is slightly tilted. It still allows the magazine to close, but the driver blade hits the nail head off-center.
3) Re-engage the follower and close the magazine
- Slowly release the spring follower so it presses the strip forward with steady tension.
- Close the magazine until the latch clicks, then tug lightly to confirm it is locked.
If you “let go” and the follower snaps forward, it can chip softer collation or skew the first nail. Gentle control is boring, but it saves time.
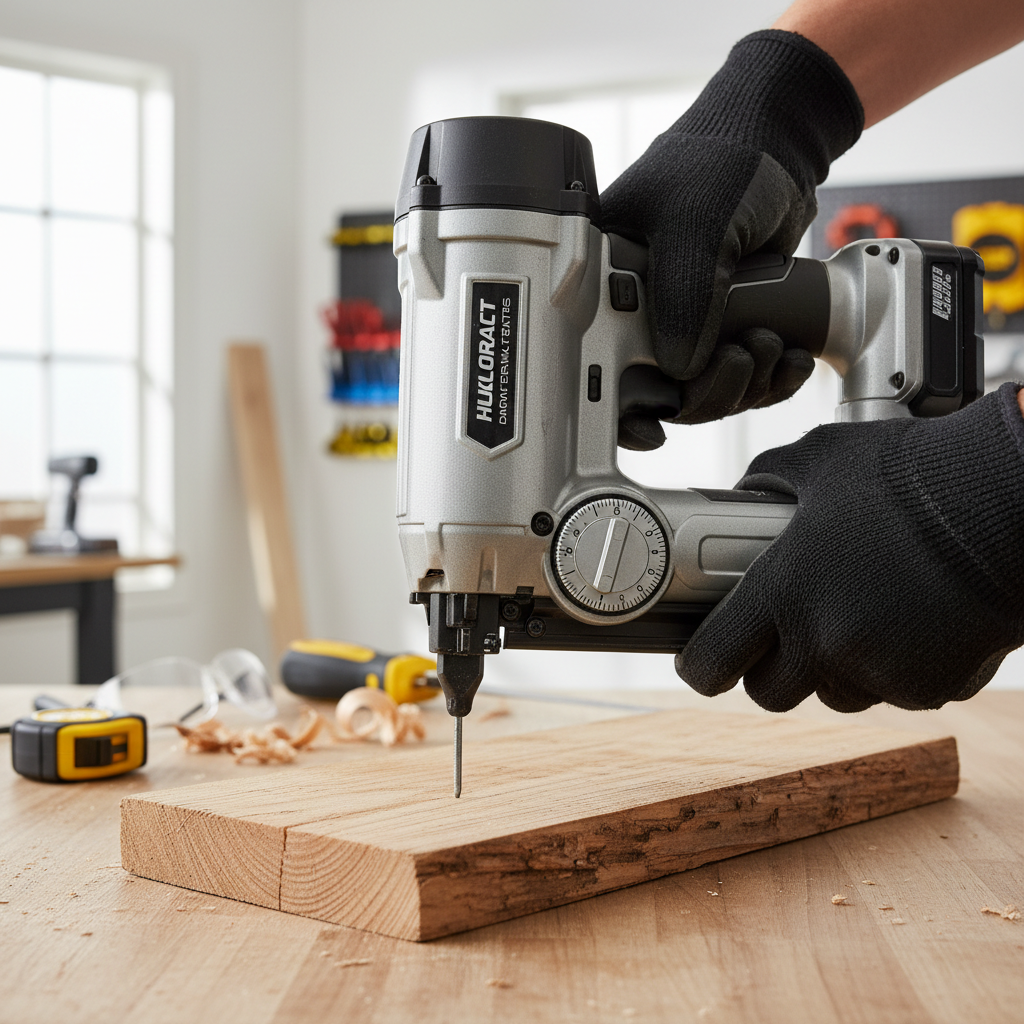
4) Reconnect power and test on scrap
- Reconnect air or battery.
- Set depth adjustment to a middle setting.
- Fire 2–3 brads into scrap that matches your trim hardness as closely as possible.
At this point, you have effectively confirmed how to load nails into a brad nailer and whether the feed is stable. If the first brad fires and the second does not, that is a strong hint the follower tension or strip seating is off.
Quick self-check: are you loading right, or chasing the wrong problem?
When reload issues keep repeating, it helps to separate “loading error” from “tool setup” from “fastener mismatch.” Run this quick checklist.
- Right nails? Box matches your tool’s gauge and length range.
- Strip seated flat? No rocking, no riding on the rail edge.
- Follower engaged? Spring pushes the strip forward, not stuck behind it.
- Depth set too deep? Overdriving can feel like a feed issue on hardwood.
- Air pressure or battery OK? Low power can mimic a jam.
If you pass the first three items and still see misfires, the problem often shifts to pressure settings, debris in the nose, or worn driver components.
Troubleshooting jams and misfires after reloading
Even if you know how to load nails into a brad nailer, jams can still happen, especially on older tools or in dusty trim work. According to the U.S. Consumer Product Safety Commission, power tools can cause injuries if used improperly, so take jam clearing seriously and power down before you poke around the nose.
Common symptoms and what they usually mean
- Nailer clicks, no nail: strip not advancing, follower stuck, or nail length outside spec.
- Nail half-driven: low air pressure, dull driver, depth set too deep for hardwood, or hitting a knot.
- Repeated nose jams: bent brads, dirty nose channel, incorrect strip thickness for the magazine.
Practical fixes you can try
- Remove power, open the jam door if your model has one, and clear the fastener with needle-nose pliers.
- Wipe the magazine rail, then add a very light lubricant only if your manual allows it (some nailers want oil-free operation).
- Verify compressor PSI falls within the tool rating if you run pneumatic.
- Try a fresh strip from a new box, because a slightly damaged strip can “look fine” and still feed poorly.
Real-world tips for cleaner results (not just “it fires”)
Loading is step one, but trim work looks “pro” when the brads set consistently. These small adjustments do more than people expect.
- Match length to the job: for thin trim, too-long brads can blow out the side, especially near edges.
- Dial depth on scrap: aim for slightly below flush, then fill; proud nails slow everything down.
- Hold square to the surface: angled firing increases the chance of a brad walking out the side grain.
- Let the nailer reset: rapid bumping without a full reset cycle can cause inconsistent feeds on some models.
And yes, brand mixing can matter. Many nailers run “fine” on most brads, but certain strips fit your magazine rails better than others.
When to stop and get help (or at least check the manual)
If you consistently load correctly and still get frequent jams, something may be worn, out of alignment, or simply not worth fighting on a jobsite clock.
- Driver blade damage or a chipped tip can cause repeat misfeeds.
- Magazine rail bent can push the strip off-line.
- Air leaks or pressure regulator issues can reduce driving force and create “mystery” misfires.
In those cases, check the manufacturer manual for approved maintenance steps, and consider a service shop if the nailer is under warranty or the jam clearing steps feel risky.
Conclusion: a reliable reload routine beats guessing
Once you lock in a repeatable process for how to load nails into a brad nailer, most frustrations disappear: power off, correct brads, strip seated flat, follower controlled, then a quick test fire on scrap. If problems persist after that, treat it as a setup or maintenance issue, not a “bad luck” reload.
If you want an easy next step, set a small scrap station near your trim area and test every new strip or length change, it takes seconds and saves rework.